Friday, December 15, 2017

CHRISTMAS T-SHIRT PROJECT #1


I have cut back on doing so many crafts due to an old shoulder injury. I'm retired now and must resist the urge to try every new craft I see.  I spend an hour daily on craft websites and Pinterest looking for crafts that require just a few steps and are inexpensive to create.  I must say I have found some fantastic crafts this Christmas season.


My Christmas projects included three t-shirt crafts. My first project was for a black Christmas t-shirt. My old one had become faded and tattered looking. I used it for inspiration for a new t-shirt. 


The craft store no longer carried gold cord. I had a bag full of acrylic gems
but I had used up all of the clear ones.
I had to make adjustments to get this project done.

Here are the items I used to make my new
Christmas t-shirt:

Black crew neck t-shirt

1/4 inch gold metallic ribbon, 30-35 inches
14 red, green, & gold medium sized acrylic flatback gems
2 green & 2 red buttons
3 small Christmas charms
straight pins, scissors 
black thread & needle
glue sticks & glue gun 

I pinned gold ribbon across the front 
of the shirt from shoulder to shoulder.
made three 1 inch loops in the ribbon 
5 inches apart (see image).  I hand stitched the ribbon onto the shirt with black thread. 

The gems were hot glued above and below the ribbon. I also attached the buttons 
& angel charms to the ribbon (see image below).


Friday, November 24, 2017

CHRISTMAS PAPER WREATH!


I started getting tons of Christmas 

catalogs after Halloween. I thumbed 

through some them while I enjoyed my 

morning cup of coffee.  I was looking 

through a wholesale company


catalog when I saw an interesting 

Christmas craft. This month's craft idea 

was a Christmas paper cone wreath. It

was very pretty and it  was made from 

wrapping paper. This craft would be 

great for using up left over rolls of

Christmas wrapping paper. I use gift 

bags now and have a bucket full of 

Christmas wrapping paper that I rarely 

use.


Here is an image of the wreath I used for 

inspiration:


Here is the image of my Christmas 
Paper Wreath:


I used the following items:


2 different prints of red & green wrapping 
paper
Scissors
Glue gun & glue sticks
Red pipe cleaner
Red wire ribbon
Sprig of faux holly & berries


Make 6x6  template. 


Cut 13 squares for each color of the 
wrapping paper. Shape paper squares 
into cones & secure with glue.


Make first row of the 13 cones together in
a circular fashion.
Start second row by inserting 13 cones
inside first row. Be sure to leave top half 
of cone exposed. 

Make bow and attach it  to center of 


wreath. Glue holly and berries to center


of the bow. 


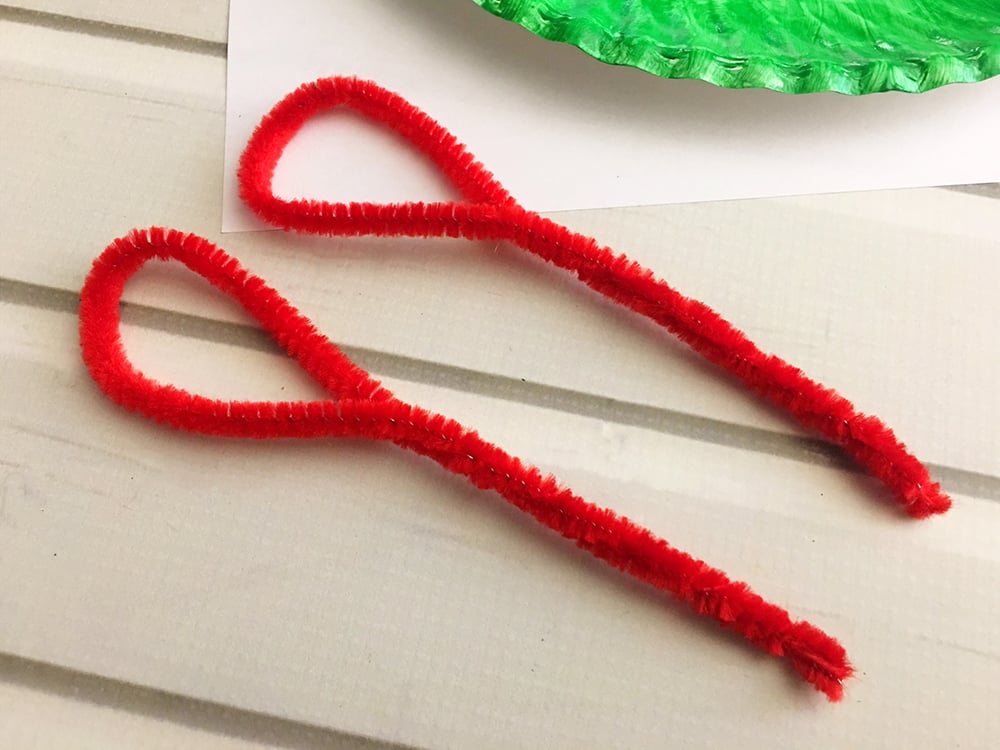
Make loop with pipe cleaner and attach to 
center back of wreath so it can be hung on
a door.


Thursday, November 16, 2017

CHRISTMAS PLATE CRAFT!


https://en.wikipedia.org


I love Christmas because it's the day my 
church celebrates Jesus' birthday. The 
books Matthew and Luke in the Bible 
reports that Jesus received gold, 
frankincense and myrrh as gifts. My family
include exchanging gifts in our Christmas 
celebration too.


I prepare for the Christmas season 

each year by searching online and craft 


TV for  Christmas craft  ideas.

I try to give one handmade gift along with 

store bought gift to my family and friends 

for Christmas.


I saw a cutting board planter while I was

on the Pinterest website. 


The cutting board had salad bowls 

attached for  use as a planter. It

was so cute.


I wanted to make this craft as cheap as 

possible. Most of the wood cutting boards


started at $6 in the retail stores. I checked 


the thrift stores but they didn't have any


wood cutting boards or wood salad


bowls. I didn't find any cheap wood cutting

boards or wood salad bowls online.


I noticed some clear plastic dinner plates and glasses at a dollar store.  I suddenly got  a bright idea on how to improvise the wood cutting board craft.  I decided to make a plastic dinner plate craft!


This would make lovely Christmas craft 
for children and adults. Here is a list of items 
you'll need:


CLEAR PLASTIC DINNER PLATE
CLEAR PLASTIC 8-9 OZ TUMBLER
SMALL ARTIFICIAL BIRD
SMALL BIRD'S NEST
DISH TOWEL
SMALL WHITE HOOKS
RED PIPE CLEANER
CHRISTMAS RED  DISH TOWEL
CHRISTMAS RED PIPE CLEANER
GLUE GUN & GLUE STICK
DOUBLE SIDED TAPE (OPTIONAL)


TIPS:

*TRY DOUBLE SIDED TAPE IF GLUE 
STICK IS TOO HOT FOR PLATE.

* TRY TO MATCH BIRD WITH DISH 
TOWEL.

* IF PREMADE BIRD NEST NOT 
AVAILABLE, MAKE DIY NEST USING 
SPANISH MOSS OR STRAW


Friday, September 29, 2017

THE CRAFT KNIFE!


DEER ANTLER HANDLE KNIFE


My son was  searching for a new hobby 
to do. A friend of his gave him a deer antler.  "I asked what was he going to do with that?"  He wasn't sure yet.  He did research on the web and found a site that used the animal antlers for  knife handles.  He also watched some YouTube videos. He felt like he could make a simple knife. I went to Thrift Stores and bought several butter knives.  

He began cutting the antlers and sharpening the butter knife blades 
and his first knife was crafted! 
Beautiful exotic wood and forged blades are the materials he uses now.  He has
almost perfected his knife making skills now.  He has even sold knives to my friends and local businesses.

He has shown me with practice and patience, learning interesting hobbies 
are possible.  
 
Here are the links to his web pages which
features his knives:

 outthereedge.com


https://m.ebay.com/sch/i.html?isRefine=true&sid=chenbanks


Wednesday, February 1, 2017

WEEK -END BETTA PROJECT!


I used to have a huge 75 gallon fish tank, The maintenance was too much for me.
I also got tired of replacing finicky breeds of fish every two or three months. 
 
I discovered the betta fish on one of my visits to replace one of my tetra fish.
The betta fish were too cute. I couldn't understand how one fish could be happy
in the  plastic jars at the pet store! I didn't believe the store clerk's betta story. 
I had  been misinformed many times by young store clerks. The online research 
revealed that the bettas started out in the rice patties in Asia.  They come in brilliant 
colors now due to special breeding. The betta fish are so territorial that it's best
to keep each one in it's own container! Yes, I said container. A lady told me her 
son kept his betta in a mason for 5 years! They don't require a pump and other
tank accessories. They can be housed in  pretty jars or fish bowls. The pet stores have an array of small cutesy betta houses.  I was told to avoid water from your home faucet. I buy gallons of purified water for my bettas. I bought 
one betta 5 years ago and he is are still striving!  I lost two of my bettas due my 
own careless mistakes.

I drained my 75 gallon  tank and cleaned the  gravel . I refilled the tank with the
clean gravel and added 4 cylinder shaped jars on the bottom of the aquarium.
Each jar has colored glass pebbles to match the color of each of my bettas. 
I get may compliments  on my aquarium design.  Sometimes,  I add a cutting
of Pothos plant or stalk lucky bamboo to the betta jars. I cover my jars with colorful circle foam sheets so my bettas cannot jump out. I cut a small whole in the foam circle to allow my bettas to breathe.

Here are images of betta jars I bought
from thrift stores:

 
15 OZ  CYLINDER JAR


2 QUART PICKLE JAR


 FOAM CIRCLES:


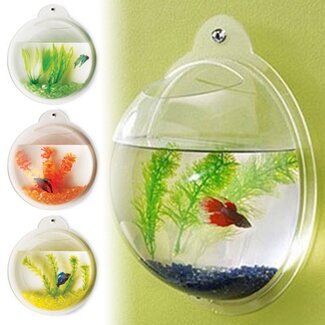
Here are some betta home design ideas:


HERE ARE SOME OF THE BETTA HOMES AT PET STORES & ONLINE SITES:


Saturday, December 10, 2016

WEEKEND CRAFT, OKRA ANGELS


My husband and I grew okra in our garden every year.
We joked with each other and made a bet. Who could
prevent the most okra from getting too big? Our
okra  plant was a slow grower in the beginning. As soon
the plant got tall and grew flowers, we couldn't contain it!
We swore the plant grew over night. Some of the okra
could be 2 inches at 5 pm and become 5 inches long by
8 am the next morning!

I was discarding the long okra because they didn't
taste good when I cooked them. Then one year,
I received some painted okra ornaments! They
were decorated to look like Santa.  I was horrified
when I recalled how many long okra went in my trash.
I thought what a terrific idea! This year I was smart.
I saved my long dried okra pods in a plastic baggie.

I've been a crafter for years. I looked forward to
making ornaments out of my dried okra pods this
year. I looked at okra ornaments on the web for
inspiration. 

I rummaged through my left over items from 
other crafts. I found a bag of assorted gems,
loose ribbons, and bottles of acrylic paints.

I painted my okra pods white and beige. The
faces were painted olive brown. I added mini
gems to the front. I made loops out of ribbon so
the okra angels could be hung from my Christmas
tree.

 Here is a image  of my okra angel ornaments: